How to Install Artificial Grass on Concrete
You can install artificial grass on concrete – and it’s not as complicated as contractors want you to think. But you can’t just roll it out like a rug and call it a day.
Here’s the deal. Installing artificial turf on concrete requires proper surface prep, the right adhesive, and a real plan for drainage. Skip any of these, and you’re looking at pooling water, funky smells, or turf that starts lifting after a few months.
This guide is for anyone tackling a backyard patio, balcony, or dog run. Whether you’re doing this yourself to save money or just enjoy weekend projects, I’ll walk you through exactly what works. No fluff – just the actual steps that’ll get your concrete covered in green that lasts.
And if halfway through you decide this isn’t your thing? That’s what companies like Site Prep LLC are for.
Table of Contents
Can You Just Lay Artificial Grass on Concrete?
Short answer? No, not really. Technically you could unroll some astroturf on your patio and walk away. It’ll look okay for a few weeks. But the first rain? Water pools underneath because concrete doesn’t drain like soil does. Then the turf starts smelling weird. Sections bubble up or shift when you walk on them.
Water gets trapped between the turf backing and concrete with nowhere to go. Creates perfect conditions for mold, mildew, and that gross musty smell.
Without glue, your fake grass is basically an expensive yoga mat that slides around. And if you glue it but didn’t prep the surface right? The bond fails. Edges peel. You’re starting over.
So when people ask “can I just lay it down?” – they’re really asking “can I skip the hard parts?” Only if you’re okay with redoing everything in six months.
What You’ll Need Before You Start
Let me save you a trip back to Home Depot. Here’s everything you actually need, not just the stuff that sounds impressive on a supply list.
Tools you’ll use:
- Utility knife (get one with snap-off blades – you’ll dull a few)
- Trowel or notched spreader for adhesive
- Broom (stiff bristles work best)
- Measuring tape
- Chalk or marking pencil
- Garden hose for testing drainage
- Concrete patching trowel
- Shop vac or leaf blower
- Straight edge or long board for cutting guides
Materials to buy:
- Artificial turf (measure your space and add 10% extra)
- Turf adhesive rated for concrete (polyurethane-based works great)
- Seam tape if you’re joining multiple pieces
- Concrete cleaner/degreaser
- Concrete patching compound
- Silica sand for infill (optional but recommended)
Maybe grab these too:
- Foam underlay or drainage mat (we’ll talk about when you need this)
- Knee pads because your knees will hate you otherwise
- Work gloves
- Weights or heavy objects to hold turf while glue cures
You probably already own half this stuff. The turf and adhesive are your big expenses. Everything else? Check your garage first.
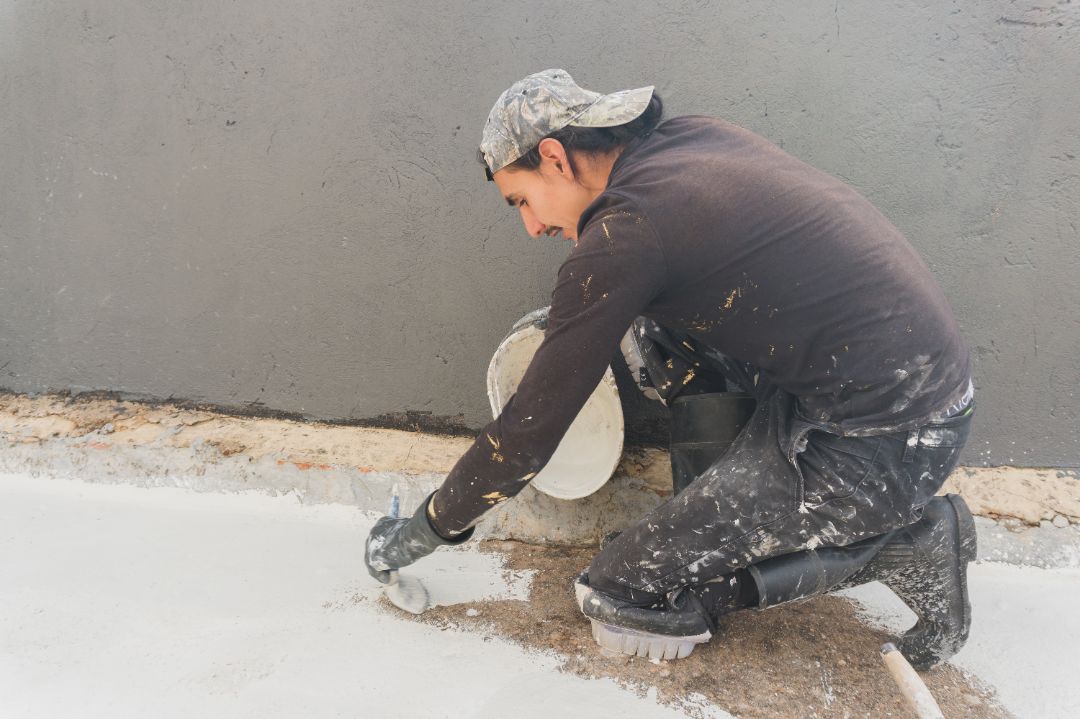
Step 1 – Prep the Surface: Inspect, Clean, and Repair
This step separates installations that last from ones that fail. I’m serious – if your concrete isn’t right, nothing else matters.
Inspect Your Concrete
Walk your space and really look at what you’re working with. Get down there if you need to.
What you’re checking for:
- Cracks wider than a quarter inch
- Chunks missing or crumbling edges
- Oil stains from… whatever used to park there
- Uneven spots where water might collect
- Any flaking or peeling surface
Now grab that garden hose and do the water test. Spray down the entire area and watch where water goes. Does it run off? Good. Does it pool in spots? That’s a problem we’ll need to fix in step 2. Take notes or photos of any low spots because you’ll forget exactly where they were.
Measure your space while you’re down there. Length, width, any weird angles or curves. You need these numbers to order the right amount of turf.
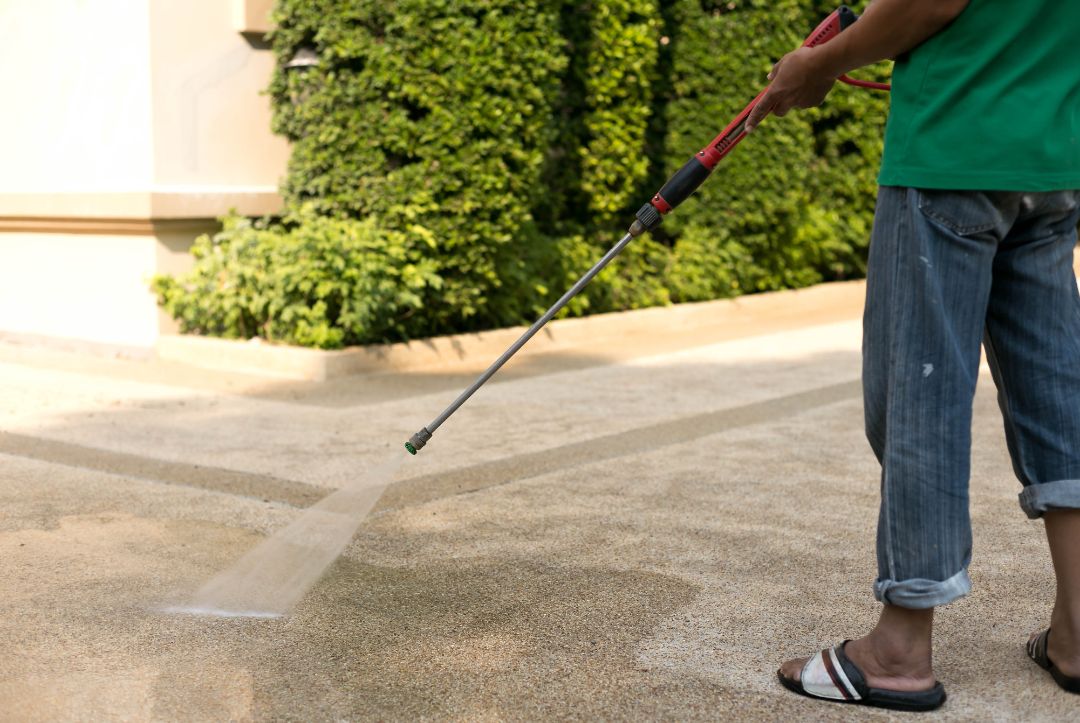
Clean Thoroughly
Your concrete needs to be actually clean, not just “looks okay” clean.
Start by sweeping or blowing off loose dirt and debris. Then hit it with a concrete cleaner – the degreasing kind if you’ve got oil stains. Let that sit for however long the bottle says. Scrub with a stiff brush if you’re dealing with stubborn spots.
Rinse everything thoroughly. And here’s the part people skip – let it dry completely. Like, overnight dry. Or use a leaf blower to speed things up, but make sure there’s no moisture left. Adhesive doesn’t stick to wet surfaces. Seems obvious, but I’ve seen it happen.
Fix and Level
Time to patch those cracks and low spots you found earlier.
Concrete patching compound is cheap and easy to use. Mix it according to directions (they’re all slightly different). Fill cracks, smooth out chips, build up any areas that were holding water in your hose test.
Use your trowel to level everything flush with the surrounding surface. You want it smooth enough that you won’t feel bumps through the turf later. Let the patches cure – usually 24 hours minimum. Don’t rush this.
Really large damage or structural issues? That’s when you might want to call in professionals like Site Prep LLC before going further. Sometimes the foundation needs more work than a DIY patch job can handle.
Step 2 – Address Drainage Issues
Here’s where installing artificial grass on concrete gets tricky compared to putting it on dirt. Dirt drains naturally. Concrete… doesn’t.
And this matters way more than you’d think. Standing water under your turf leads to problems – mold, smell, backing deterioration, the whole mess. For pet owners looking at artificial grass on concrete for dogs? Drainage becomes absolutely critical. Dog urine needs somewhere to go or your backyard turns into a science experiment nobody wants.
So what do you actually do about it?
First – check your concrete’s natural slope. Most concrete patios and driveways have a slight grade built in (usually 1-2% slope) to direct water away from buildings. Grab a level and verify this exists. If water naturally runs off to the edges or toward a drain, you might be fine with just permeable underlay.
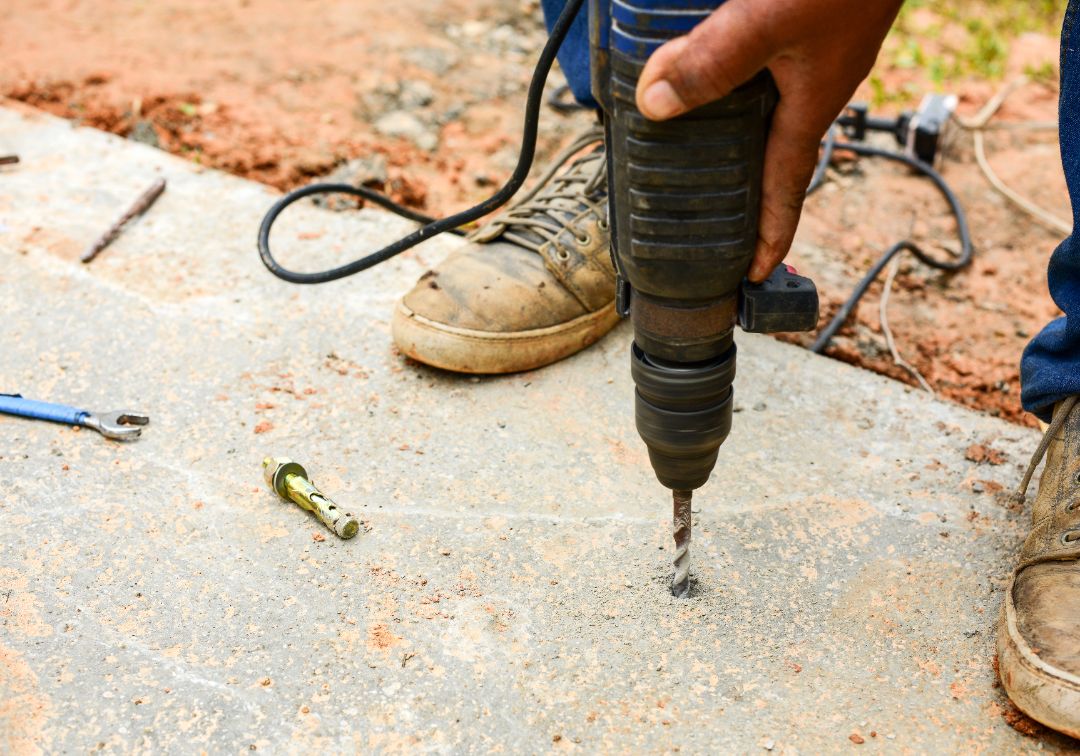
If water pools? You’ve got two options:
- Drill drainage holes – Use a masonry bit (16mm works well) to drill holes at the low points where water collects. Space them every 12-18 inches. These holes need to go through the concrete, so you’re creating direct drainage paths. Fill them partially with gravel or small stones to keep them from clogging.
- Create drainage channels – For bigger problems, you might need to cut shallow channels in the concrete that direct water toward edges or existing drains. This is more work but solves serious pooling issues.
Before you drill anything, check what’s under your concrete. Pipes, electrical, sprinkler lines – you really don’t want to hit those. When in doubt, call before you dig (or drill).
The hose test from Step 1 becomes important again here. After any drainage modifications, spray the area down and watch how water behaves now. You want to see it moving off or draining through, not sitting there.
Step 3 – Install Underlay (If Using One)
Alright, the underlay debate. Do you need it? Depends on what you’re doing and how much comfort matters.
Choosing What Goes Underneath
Foam padding – This is the cushiony stuff that makes walking on your turf feel less like walking on concrete. Because… it is concrete underneath. Padding adds comfort, reduces impact (great for play areas), and provides some extra drainage channels. Usually runs 5-15mm thick.
When foam padding makes sense:
- Kids playing in the area
- You want it to feel more like real grass
- High foot traffic zones
- Rooftops or balconies where comfort matters
Drainage mats – These are perforated plastic sheets that create air gaps under your turf. Water flows through and has space to move laterally toward drainage points. Less about comfort, more about function.
Go with drainage mats when:
- Drainage is your main concern
- The area stays wet or humid
- You’ve got artificial grass on concrete for dogs
- Odor control is a priority
Going without? You can skip underlay on small, well-draining areas where you don’t care about cushioning. Patios that already have good slope, small decorative sections, dog potty areas where you want everything to rinse clean easily.
For dog owners specifically – consider an antimicrobial drainage mat. Helps with odors and makes cleanup easier. Your turf will smell better longer, trust me on this.
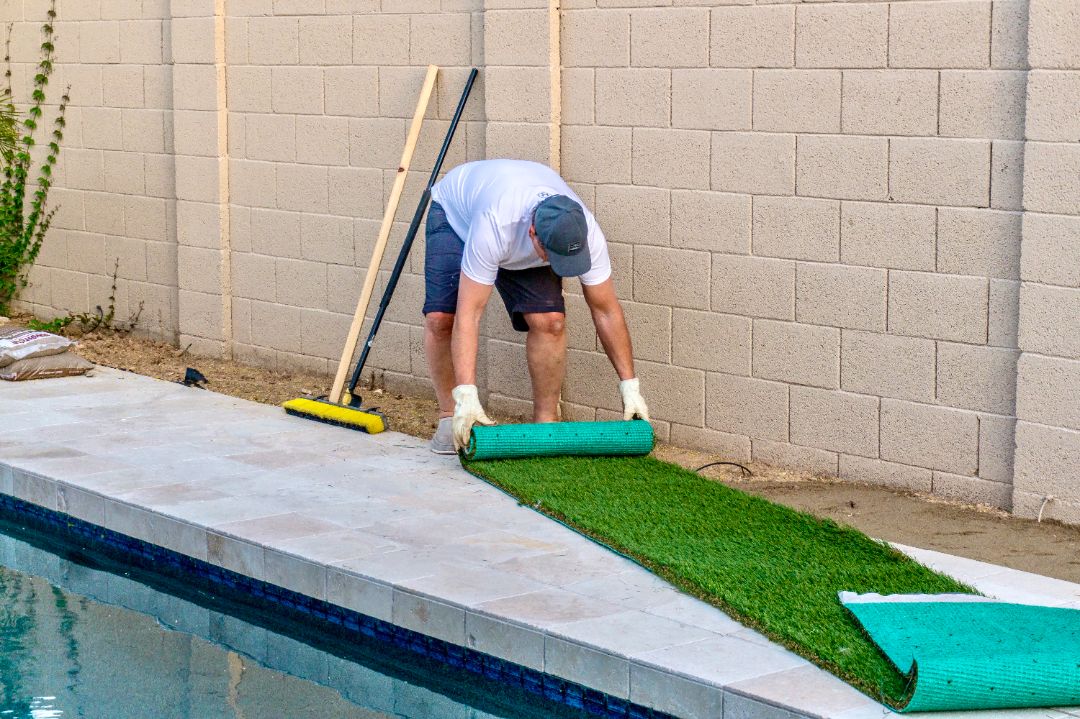
Laying the Underlay
If you decided on underlay, installation is straightforward. Roll it out across your prepped concrete. If you’re using multiple pieces, butt them up tight against each other – small gaps are fine, big overlaps aren’t.
Some underlays come with adhesive backing. Others you’ll want to tape or spot-glue in place so they don’t shift while you’re working on the turf installation. Just enough to keep things stable – you’re not permanently bonding it.
Cut the underlay to fit your space, leaving it slightly short of edges where you’ll be gluing down turf perimeter. The turf needs to contact concrete directly at the edges for a proper bond.
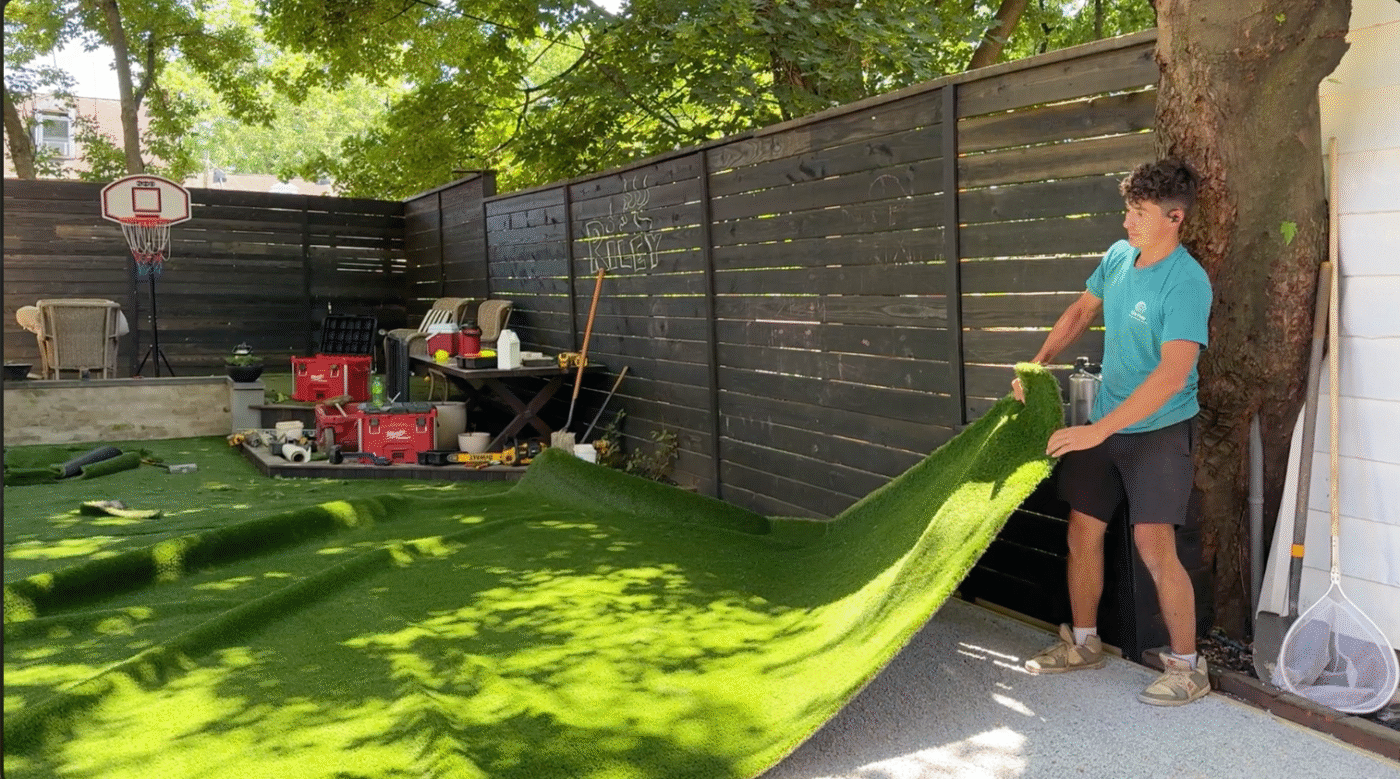
Step 4 – Unroll and Position Your Artificial Turf
Time for the main event. This is where your project starts looking like actual progress instead of concrete with stuff on it.
Pull your turf roll out to the area. Actually unroll it – don’t try to position it while rolled up. Lay it out flat across your entire space, letting it extend past edges. It’s been rolled up in a warehouse somewhere, so it needs time to relax and flatten out.
Here’s something that matters more than you’d think – blade direction. Run your hand across the turf. See how the grass blades lean one way? You want them facing toward the main viewing angle. Usually toward your house or wherever people will be looking at it most. This affects how light reflects off the blades and makes it look more natural.
If you’re working with multiple pieces to cover your area, lay them all out now. Line up the edges roughly, making sure blade direction matches on each piece. They should be laying in the same direction – mixed directions create visible seams even after joining.
Now leave it alone for a while. Overnight is best. Let the backing relax, let any creases from being rolled up work themselves out. This isn’t just being patient for the sake of it – turf that hasn’t settled will shift when you glue it down, creating wrinkles or bubbles you’ll curse at later.
Walk on it during this settling period. Move around. Make sure you’re happy with the positioning before committing to adhesive.
Step 5 – Cut the Turf to Fit
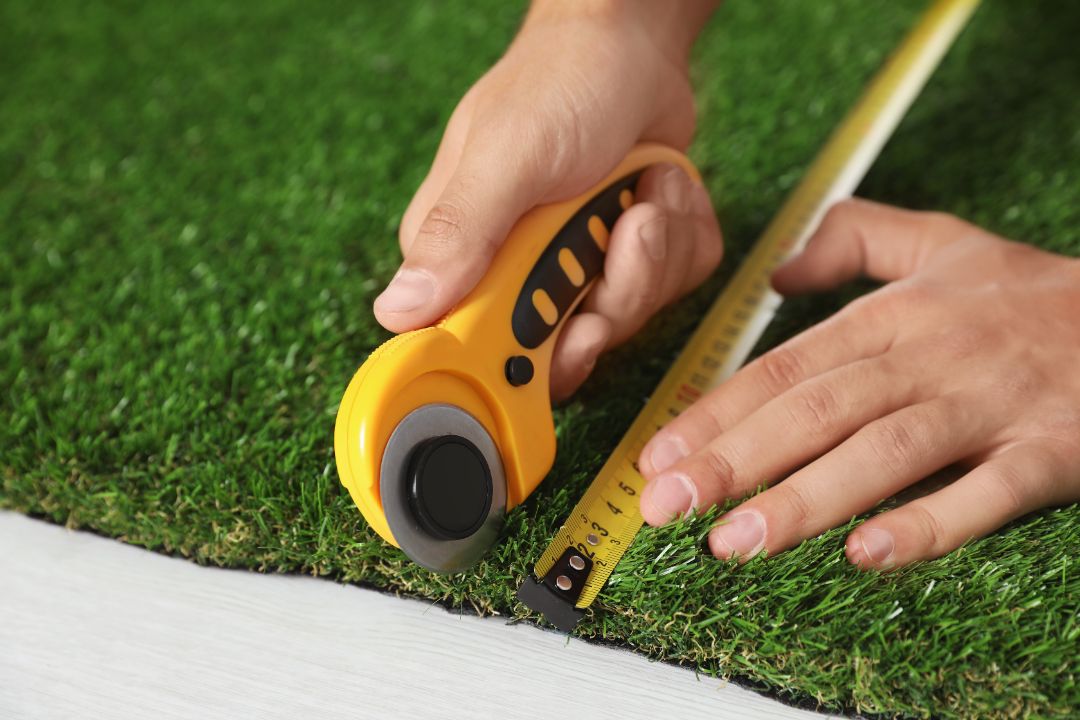
Cutting astroturf isn’t like cutting fabric. The backing is tough, the blades get in your way, and one crooked cut means ordering more material.
Start with the perimeter. Pull the turf away from one edge and flip it over so you’re looking at the backing. Use your chalk or marker to trace a cut line about an inch inside where it needs to end. Why not cut it exactly? Because it’s easier to trim a little more than it is to add material back.
Get your utility knife out. Make sure the blade is sharp – dull blades snag and create ragged edges. Cut from the backing side, following your marked line. Don’t saw back and forth – use long, smooth strokes. Cut through the backing only, not the grass blades if you can help it.
Work your way around the perimeter. Check the fit every few feet by flipping the turf back into position. Adjust your cuts as you go. The edge should sit tight against walls, borders, or whatever defines your space, but not bunched up or wrinkled.
For joining seams (if you have multiple pieces): This is precision work. Lay both pieces where they’ll go with about a half-inch overlap. Cut through BOTH pieces at once using a straight edge as a guide. This creates perfectly matched edges that’ll form an invisible seam. Cut between rows of stitching if you can see them – never through a row.
Measure twice, cut once isn’t just a cliché. It’s expensive to mess this up.
Step 6 – Apply Adhesive to Concrete
Glue is what keeps your turf from becoming a tripping hazard. It’s also where a lot of DIY installations go wrong – either not enough, too much, or the wrong type entirely.
Why You Need to Glue It Down
Let’s clear this up – you absolutely should glue turf to concrete. Without adhesive, every step shifts it slightly. Wind catches edges. Rain gets under and creates bubbles. Kids running around turn it into a slip-n-slide situation.
The adhesive you want is polyurethane-based, specifically rated for outdoor use and concrete bonding. Don’t use construction adhesive meant for other stuff. Don’t use carpet glue. Get turf adhesive. It’s designed to stay flexible (important for temperature changes) and handle moisture without breaking down.
Application Technique
You’ve got two strategies here – perimeter gluing or full coverage. For most backyard DIY projects, perimeter plus seam gluing does the job. Full coverage is overkill unless you’re doing a sports surface or commercial installation.
Perimeter method: Apply adhesive in a 6-inch wide band all the way around the edges of your turf. Also glue any seams if you joined multiple pieces. This holds everything in place while still allowing some drainage through the middle.
Here’s how to actually do it:
- Fold back the edge of your turf to expose concrete
- Apply adhesive with your trowel or spreader
- Follow the manufacturer’s instructions on thickness (usually 1/8 to 1/4 inch layer)
- Work in sections – adhesive has open time limits before it starts setting
- Press the turf down firmly into the adhesive
- Walk on it or place weights to ensure good contact
Some adhesives need to tack up (get sticky) before you press the turf into them. Read the directions on your specific product. This usually means waiting 10-15 minutes after applying.
Common mistakes to dodge:
- Applying adhesive to dirty concrete (it won’t stick)
- Using too little (creates weak spots that fail later)
- Not pressing firmly enough (air gaps under the turf)
- Walking on it before the cure time is up
Curing time varies by product and temperature. Usually 24-48 hours before heavy use. Don’t rush this part – if the bond hasn’t fully set and you’re out there having a barbecue on it, you’ll compromise the adhesion.
Step 7 – Join Seams and Secure Edges
This is the step that separates amateur-looking installations from ones where people ask “wait, that’s fake?”
Connecting Multiple Pieces
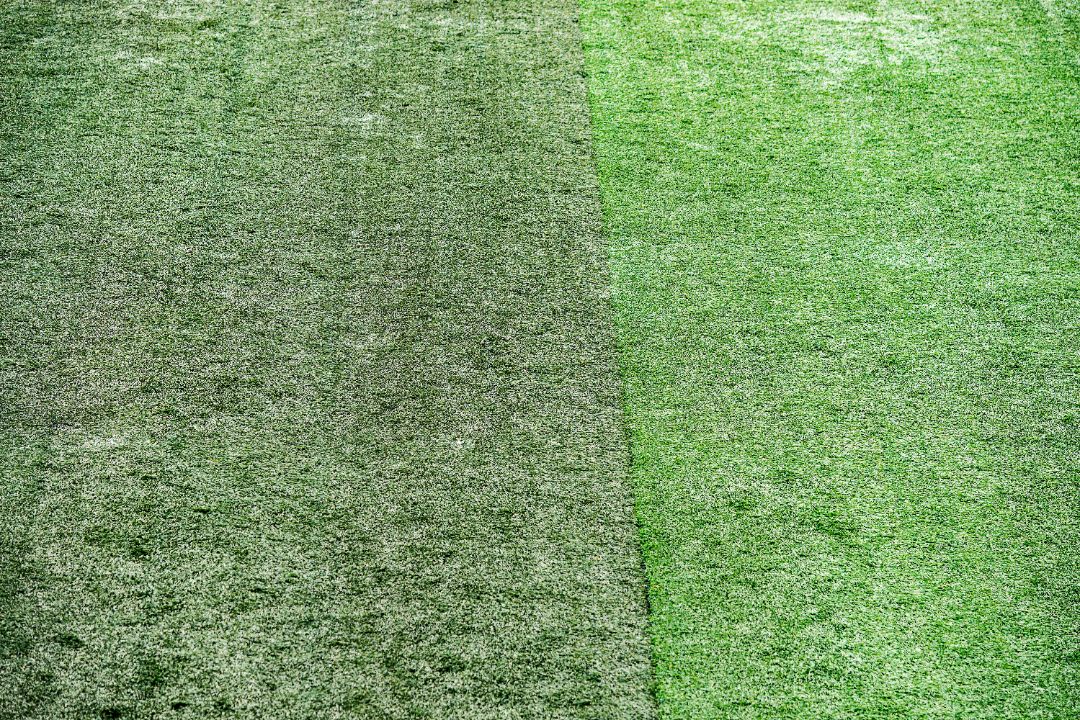
If your space required more than one roll of turf, you’ve got seams to join. The goal is making them invisible.
Standard method with seam tape:
- Cut your seam tape to length (it’s usually 4-6 inches wide)
- Position it on the concrete under where your seam will be
- Apply adhesive to the tape (not the turf backing)
- Let it tack up if needed
- Press both pieces of turf down onto the tape simultaneously
- Make sure the edges butt up tight – no gaps, no overlaps
- Use a roller or walk along the seam to ensure solid contact
Without tape method (adhesive-only): Some pros skip tape entirely and just glue directly to concrete under the seam. This works, but requires more precision. Apply adhesive in a strip about 8 inches wide under where the seam will be. Press both turf edges into it. The advantage? One less material to buy. The downside? Less forgiving if your edges aren’t perfectly matched.
Either way, here’s the trick to invisible seams – interlock the grass blades along the cut edges. Run your fingers along the seam and fluff grass from one side over to the other. This masks the actual join line. Done right, you shouldn’t be able to spot the seam unless you’re on hands and knees looking for it.
Locking Down the Perimeter
Edges are where turf installations fail most often. They lift, they peel, they curl up and look terrible.
Apply extra adhesive at the perimeter. Go heavier here than you did in the middle sections. The edges take the most stress – foot traffic, weather, temperature expansion and contraction. They need to stay put.
Trim any excess backing that extends past where you want the turf to end. Use your utility knife to create clean edges. If you’re butting up against a wall or border, tuck the edge slightly under if possible – this prevents visible backing and creates a cleaner look.
Place heavy objects along the edges while the adhesive cures. Bricks, concrete blocks, whatever you’ve got. This keeps edges flat and in full contact with the adhesive while it sets. Leave these in place for at least 24 hours.
The goal here? When you walk up to the edge and give it a tug, it doesn’t budge. Not even a little.
Step 8 – Add Infill for Stability
Infill is basically sand you brush into the turf. And yeah, you’re putting sand on fake grass that you installed specifically to not deal with natural ground materials. I know. But hear me out.
Infill serves actual purposes:
- Adds weight so your turf doesn’t shift or lift
- Helps grass blades stand upright instead of lying flat
- Improves drainage by creating channels between blades
- Reduces static electricity
- For pet areas, helps with odor control
You want silica sand – the rounded kind, not sharp playground sand. Figure about 1-2 pounds per square foot. You’re not creating a beach here, just a light layer worked down into the grass.
How to apply it: Spread sand across the turf using a drop spreader (like for grass seed) or just broadcast it by hand if your area is small. Work in sections. Use your stiff broom to brush the sand down into the base of the grass blades. Brush against the grain first, then with the grain.
Keep brushing and adding more sand until the grass blades are standing up on their own and you’re not seeing sand on the surface. It should all be worked down to the backing level.
For dog owners: Consider antimicrobial infill products like zeolite. Costs more than regular sand but helps neutralize pet odors. If you’re putting fake grass on concrete specifically for dogs to use, this upgrade is worth it. Trust me – your nose will thank you later.
Some artificial grass comes pre-filled or doesn’t require infill at all (usually the higher-end stuff with really thick, sturdy blades). Check what you bought. But for most DIY-grade turf? Infill makes a noticeable difference in how it looks and performs.
Step 9 – Brush and Set the Turf
Almost done. This step is quick but makes a real difference in the final appearance.
Take your stiff-bristled broom and brush the entire surface. You’re doing a few things here:
- Standing the grass blades upright
- Distributing the infill evenly
- Working out any last wrinkles or flat spots
- Making it look less “fresh from the roll” and more natural
Brush against the natural grain of the grass first. This lifts the blades. Then brush with the grain to make everything lay properly. Do this across the whole area.
Pay extra attention to seams, edges, and anywhere you walked while the adhesive was wet. These areas tend to have matted-down grass that needs fluffing up.
Now – and this is important – let the adhesive cure fully before you really use the space. Most products say 24-48 hours. Some say 72. Whatever your adhesive manufacturer recommends, follow it. I know you’re excited to use your new green space, but walking on it too early can shift the turf slightly while the bond is still setting. Those small shifts create wrinkles you’ll see forever.
Light foot traffic for inspection is fine. Hosting a party on it? Wait.
Use this cure time to clean up your workspace. Put away tools, dispose of turf scraps, sweep up any spilled sand. Make the area around your new turf installation look as good as the turf itself.
Step 10 – Final Inspection and Adjustments

Time for the walkthrough. This is where you catch any issues before they become bigger problems.
- Check all seams: Get down close and look at every join. Run your hand along them. They should be tight, invisible from normal viewing distance, and completely bonded. If you spot any gaps or lifting, apply more adhesive now while you’ve still got supplies out.
- Test for movement: Walk around the entire area. Jump a little if it’s appropriate for your installation. Does anything shift or feel loose? Check edges especially – give them a gentle tug. Everything should be rock solid.
- Look for lifted spots or bubbles: Sometimes air gets trapped under the turf during installation. Small bubbles might work themselves out. Bigger ones need fixing. You can carefully cut a small slit in the backing, press the air out, and inject some adhesive to rebond it.
- Inspect the overall appearance: Step back and look at the whole thing. Does the color look even? Are the grass blades standing up properly? Any areas that look flat or matted? Brush those again.
- Drainage check: If you installed this recently and haven’t had rain yet, grab the hose again. Spray it down and watch how water behaves. It should drain through and run off like you planned. Pooling anywhere? You might need to add more drainage holes or adjust your infill.
- Edge trimming: Look at the perimeter from different angles. Any spots where backing is visible or edges look rough? Trim them now with your utility knife for a cleaner appearance.
Take photos now while it’s brand new. Not just for social media (though sure, flex a little – you did this yourself), but for future reference. If something changes down the line, you’ll have documentation of what it looked like right after installation.
And that’s it. Your concrete is now covered in green that’ll stay green whether you water it or not.
Special Considerations: Artificial Grass on Concrete for Dogs
Why concrete base works for pets: No mud puddles. Dogs can’t dig through it. Easy to keep clean with proper drainage.
Drainage is critical – more than non-pet areas. Dog urine needs quick drainage or your backyard reeks. Consider drilling extra drainage holes in spots where your dog goes frequently.
Antimicrobial infill isn’t optional for dog areas. Regular sand drains but doesn’t control smell. Zeolite makes the difference.
Choosing turf for dogs:
- Shorter pile height (under 1.5 inches) drains better
- Heavier backing withstands nails better
- Non-toxic materials only
- Perforated backing for drainage
Cleaning routine: Rinse weekly minimum. More for multiple dogs. Monthly: enzyme cleaner designed for turf. Spray, let sit, rinse thoroughly. It works but requires maintenance commitment. Concrete doesn’t let anything soak away naturally, so everything stays on surface until you wash it.
Common Problems and How to Avoid Them
Let me save you from the mistakes I’ve seen (and okay, made myself on early projects).
- Water pooling – Do the hose test. Drill drainage holes where water collects. Don’t skip underlay with drainage channels.
- Turf lifting – Use proper turf adhesive generously, especially at edges. Let it cure fully. Don’t cheap out – it holds your entire project together.
- Visible seams – Order from same batch. Cut between stitching rows. Match blade direction. Interlock grass along edges. Take your time.
- Odor issues – Proper drainage. Antimicrobial infill. Rinse regularly. For dogs, these steps aren’t optional.
- Heat buildup – Choose lighter colored turf. Consider cooling technology for full-sun areas. Rinse before use on hot days. Fake grass gets hotter than real grass.
- Most problems are fixable if caught early. Walk your turf periodically and address small issues fast.
DIY vs Hiring Professionals
Let’s talk honestly about whether you should actually do this yourself or just pay someone.
DIY makes sense when:
- You’re covering a small, simple area (under 500 sq ft with no weird shapes)
- Your concrete is already in good shape and drains properly
- You’ve got a free weekend and basic tool skills
- Budget is tight and you don’t mind physical work
- The stakes are low – like a small patio where imperfection is okay
Call in the pros (like Site Prep LLC) when:
- Large backyard installation (over 500 sq ft gets tedious fast)
- Complex drainage issues that need professional assessment
- Multiple levels, curves, or intricate cuts around landscaping
- You’re doing artificial grass installation over dirt next to concrete and need proper transitions
- Commercial property or rental where it needs to look perfect
- You value your weekends more than the labor cost savings
Full weekend for typical 200-300 sq ft patio. Bigger areas or problems can stretch to multiple weekends.
Professional installation runs $8-15 per square foot. Check how much turf costs per square foot for pricing breakdown. DIY cuts labor but not material costs.
Neither choice is wrong. Be realistic about abilities, time, and whether saving money is worth the effort.
Conclusion
Everything you need to know about putting turf on concrete. Doable as DIY? Absolutely. Easy? It’s not hard, but it’s work requiring attention to detail.
Key things:
- Prep work matters more than you think
- Drainage isn’t optional
- Good adhesive properly applied holds everything
- Shortcuts mean redoing it later
Whether you tackle this yourself or call Site Prep, you now know what’s involved. You’ll understand why certain steps can’t be skipped.
Your concrete doesn’t have to stay gray and boring. Green it up. Just do it right the first time.